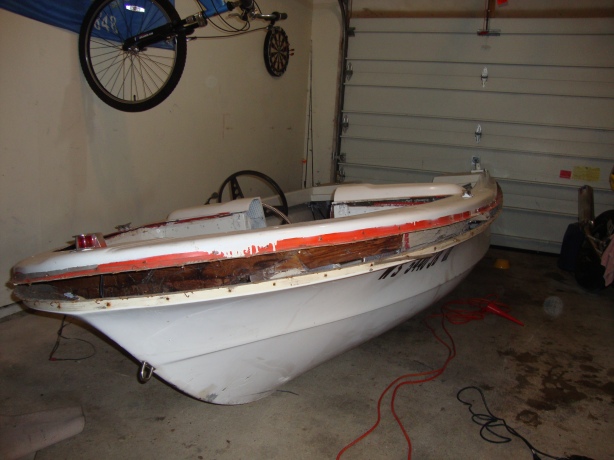
So I bought a ’72 runabout (make unknown) from some guy off Craigslist back in March for $150. No motor and he said the transom needed to be replaced and that everything else is solid. I thought it would be a great project this spring and my goal is to have it completed by mid July. I did a lot of research on transom builds and watched countless YouTube video tutorials but most of them lacked details, thats when I decided to write this blog and document every step so that the next guy has something a little more than I did.
I started this project with an open mind, I knew I would have plenty of expenses and trial and error considering that this is my first marine project. The transom was visibly wet and rotting and it was no wonder that this guy wanted to get rid of it…ALOT of work!
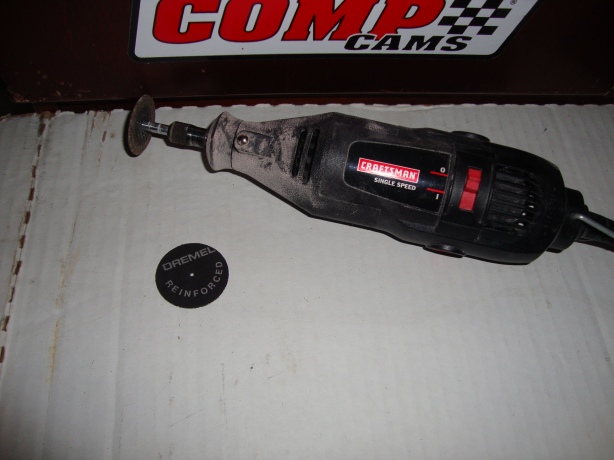
I started out by purchasing about 10 Dremel Reinforced cutting disks for my rotary tool which I used to grind out the rivets from the rub rail. I knew I was going to replace the rub rail anyways so I didnt worry too much about cutting into it. Be patient, this step takes some time but the only alternative is to drill out the rivets. I chose not to drill because they were steel rivets and most were rusted and mushroomed which would have made it a nightmare.
You might need to remove the remaining rivets with a punch and mallet, however I just used a pry bar to pull off the rub rail which was surprisingly easy.
Now that the rub rail is off, I need to separate the upper shell from the hull. I used the same pry bar and wedged it between both halves until it started to come apart. Once I got the pry bar wedged between, I simply hammered the side of it and slide it all the way around, breaking apart the epoxy that held it together.
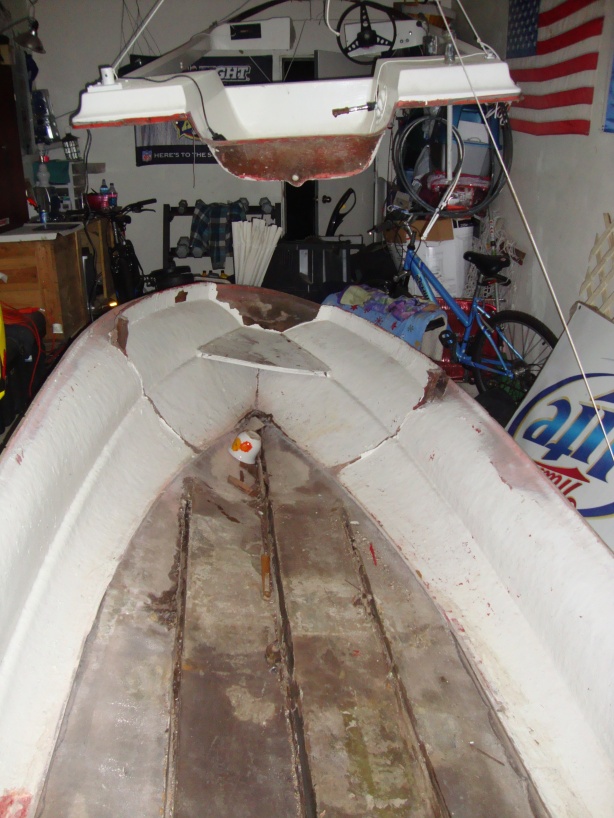
Since I have very limited garage space I had to hoist the upper shell up to the ceiling so that I made more room to work. I saw this technique in other tutorials and it was definitely a good idea! Next thing I did was make a cardboard template of the transom so that I can trace that onto the new lumber, but thats later.
They tell you to cut out the 12 inches of floor behind the transom if you are solely doing a transom replacement; however, I am replacing the floor as well so I am hacking out everything. Starting with the transom, I used my Craftsman rotary tool with reinforced cutting disks so slice through the fiberglass shell over the wood core of the transom. I used a reciprocating saw to cut lengthwise through the floor, giving me ample room to stick my pry bar in and rip everything out. Most of the stringers were totally rotted and the foam that the last owner used to give the floor support was completely waterlogged and smelt horrible.
I had to rip out it all, everything had to go; the best thing about it is that the fiberglass around the stringers formed a perfect mold for the new replacement ones I plan on putting in, saving me some time cutting and extra fiberglass work.
This is my progress so far. The next thing I need to do is grind out any resin, glue, wood, or paint that remains on the surfaces where I plan on doing fiberglass work. I’ll post updates soon, feel free to leave your feedback on my progress and give me pointers.


